|
Windows
XP Network and Dial Up Connections
|
Step
1.
- Click
on the Start button
- Click
on All Programs
- Click
on Accessories
- Click
on Communications
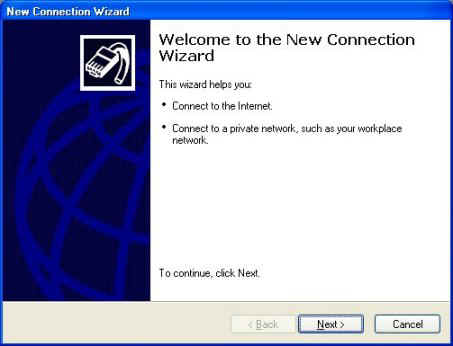
- Choose
New Connection Wizard from the menu
|
|
Step 2.
If
you have never specified a dial-up connection in Windows
XP before, you will now see a window labeled
"Location Information" like the one below. (If
you do not see this window, skip to Step 3.)
- Specify
the values appropriate to your location in the blanks
for "country/region" and "area
code"
- Click
OK to continue.
- At
the next window, labeled "Phone and Modem
Options", click OK to continue.

|
|
|
|
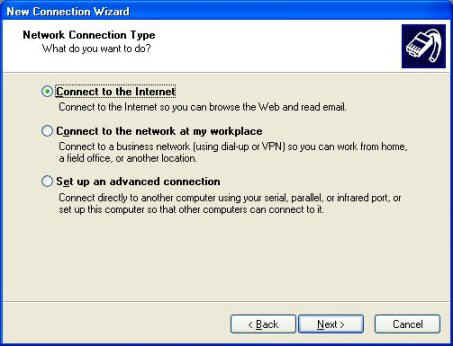
Step 4.
- Choose
Connect to the Internet, then click Next.
|
|
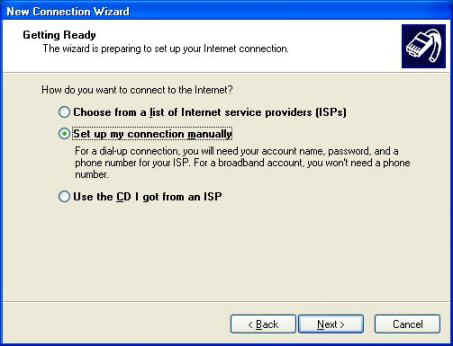
Step 5.
- Choose Set up my
connection manually, then click Next.
|
Step
6.
- Choose Connect
using a dial up modem, then click Next.
|
Step
7.
- Type in Your ISP Name
for the connection name, then click Next.
|
Step
8.
- Enter the phone number
you've chosen to connect with, then click Next.
|
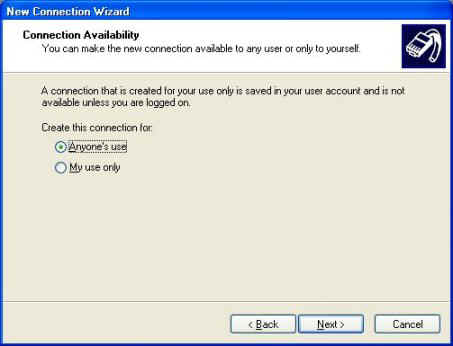
Step
9.
- Select the appropriate
use for this connection, then click Next.
|
Step
10.
- Click
once in the User name field and type your
username.
- Click
once in the Password field and type your
password. Click in the Confirm password field
and type it again.
- Make
sure the box is checked that says, "Use this
account name and password when anyone connects to the
internet from this computer".
- Make
sure the box is checked that says, "Make this
the default Internet connection".
- Leave
"Turn on Internet Connection Firewall for this
connection" unchecked.
- Click
Next to continue
|
Step
11.
- Click
on the 'Add a shortcut to this connection to my
desktop' button
- Click
on Finish.
- When
you are ready to connect to the internet double click
on your new icon on the desktop.
|
You're
Done! |
|
|
| |
| |
| |